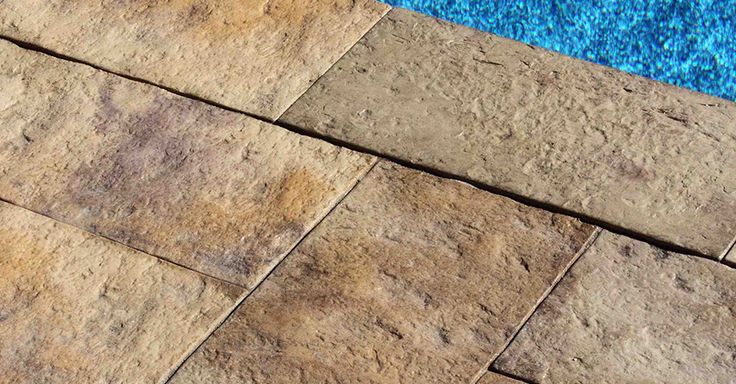
It’s hard to keep all purchase tiles for flooring intact. As much as we wanted to have perfect tiles or no cracks or chips upon shipment, it’s better to accept that in one way or another, a tile may chip. Aside from transport mishaps, tiles placed at home may crack over time so it should be changed to keep the tile flooring as good as possible. Don’t throw those cracked or chipped tile just yet. You can always use it for some DIY projects at your home.
To start the project, decide on what type of mosaic you would like to do. Sketch or draw to help you decide what would be the finished product will look like.
Then, now is the time to get those old and broken tiles that you might have around the house kept to dust.

Once you’ve completed all the pieces, lay them on the surface that you will decorate. You will need to individually glue each piece into place with tile adhesive to execute the project. Voila! A handmade mosaic made of broken tiles is what you’ve produced. Here are two ideas on where to use that broken tile:
DIY Tile Table
With tile or reclaimed wood on top, whatever design you’d like to execute, you can embellish the basic frame as you prefer. You can either use an old wooden table to accent the broken tiles or build your own table. The exact dimensions you want plus it’s something that is totally unique is the benefit of building your own table.
To start the DIY project, make sure the table is ready and clean. Then ready your tile pieces and mortar. Place the tile pieces onto the table according to the shape and design you prefer. Once ready, fix the tile with a thin set mortar applied with a trowel.
The painter’s tape will hold the tile in place and make sure to have an additional strip of tile that will hide the rough edges. Apply grout with a grout float once the mortar is dry. Using a sponge, wipe off excess grout from tile surface and allow grout to dry.
DIY Backsplash
Broken tiles can also be used as a backsplash to accent a portion of kitchen area or even the bathroom.
To start the project, dig your trowel in or putty knife into tile adhesive, and spank it on the wall. Stick with an area at a time that’s about 1 square foot, and on about 1/4” thick of the tile adhesive smooth it out. When installing a backsplash, use a notched trowel as it will generate air pockets that will keep everything secure when dry.

Because the broken tile has different shapes, apply on adhesive to the back of each piece before pressing it into place. You should feel it press firmly into the goop When you stick it onto the wall. Pull it off and apply on some more adhesive if it’s not secure.
If there’s some tile adhesive that globs up between pieces once you press each tile into place, try to wipe it off and scrape it back into the bucket. You’ll save yourself later by trying to keep things as clean as possible since tile adhesive dries like concrete.
Since everything is good, set, and hard as it was let dry for a couple of days, it’s time to apply grout. Follow the direction of the box when mixing the grout. Making sure to push it down into those channels real good, scrape the grout on with the flat edge of your trowel or putty knife. Scraped off the excess. You can use an old rubber spatula to do the scraping. Don’t forget to check for areas with no grout so apply on missed spots. Let stand for a while (10 minutes will do) and use a sponge to wipe off the grout and the broken tiles mosaic will eventually be seen. After sponging off excess grout, wait for 2 hours to set. To polish your backsplash masterpiece, use a cheesecloth or lint-free cloth. There are many different great epoxies and resinous flooring solutions that can save you from having to deal with fixing things grout in the future. Lots of these floors last for years. Home depot sells some of this as well as www.palmbeachepoxypros.com/location/West-Palm-Beach
